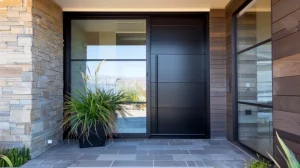
Introduction: Why Weatherproofing an Entry Door Is Essential
A poorly sealed entry door is one of the most common causes of energy loss in residential and commercial buildings. Gaps around the door frame allow cold air, moisture, and dust to enter, reducing comfort and increasing energy costs.
Properly weatherproofing an entry door helps eliminate drafts, improves insulation, and protects your home from weather damage. This guide explains exactly how to identify problem areas and seal front door gaps effectively, using proven DIY methods.

Signs Your Entry Door Needs Weatherproofing
If your front door isn’t properly sealed, you may notice:
Cold air leaking around the edges of the door
Light visible through door frame gaps
Water intrusion near the threshold
Rising heating or cooling costs
Uneven indoor temperatures
These issues indicate it’s time to weatherproof your entry door and seal front door gaps before more serious damage occurs.
Tools and Materials for Weatherproofing an Entry Door
Essential Tools
Measuring tape for identifying door gaps
Utility knife or scissors
Screwdriver or drill
Caulking gun
Putty knife for removing old sealant
Best Materials for Sealing Front Door Gaps
Weatherstripping (foam, rubber, silicone, or metal)
Door sweep for bottom gaps
Threshold seal or adjustable threshold
Exterior-grade waterproof caulk
Backer rod for wide or uneven gaps
Step-by-Step Guide to Weatherproof an Entry Door
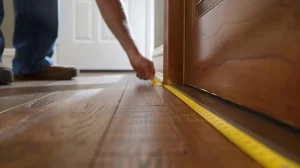
Step 1: Inspect Front Door Gaps and Frame
Begin by carefully inspecting all areas where air or water may enter:
Check gaps along the top and sides of the door frame
Inspect the bottom gap between the door and threshold
Look for cracks in trim or deteriorated caulking
Identifying problem areas ensures you seal the right gaps instead of overloading the door with unnecessary materials.
Step 2: Seal Front Door Gaps with Weatherstripping
Installing proper weatherstripping is the most effective way to weatherproof an entry door.
How to do it correctly:
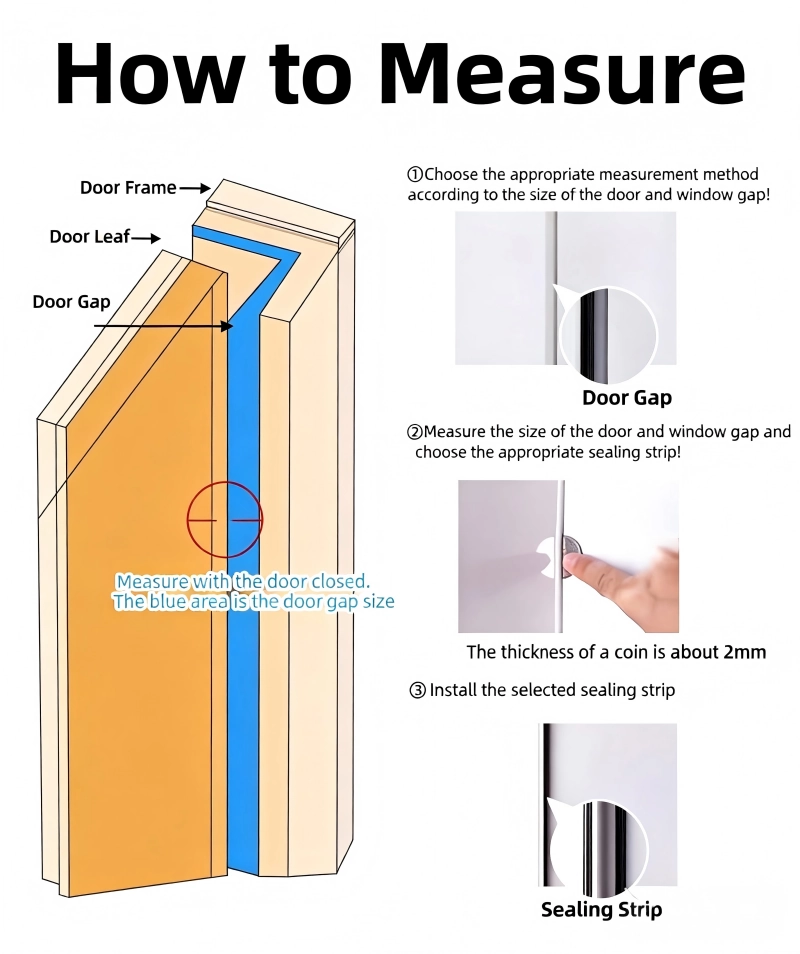
Measure each side of the door frame
Choose weatherstripping based on gap size
Install along the jambs and top frame
Ensure even compression when the door closes
Best options:
Foam weatherstripping for small gaps
Silicone or rubber seals for durability
Metal V-strip for long-term performance
Step 3: Install a Door Sweep to Block Bottom Gaps
Bottom gaps are a major source of air leakage.
Remove worn or damaged door sweeps
Cut the new sweep to door width
Secure it tightly to the door bottom
Adjust for full contact with the threshold
A properly installed door sweep is critical for fully weatherproofing an entry door.
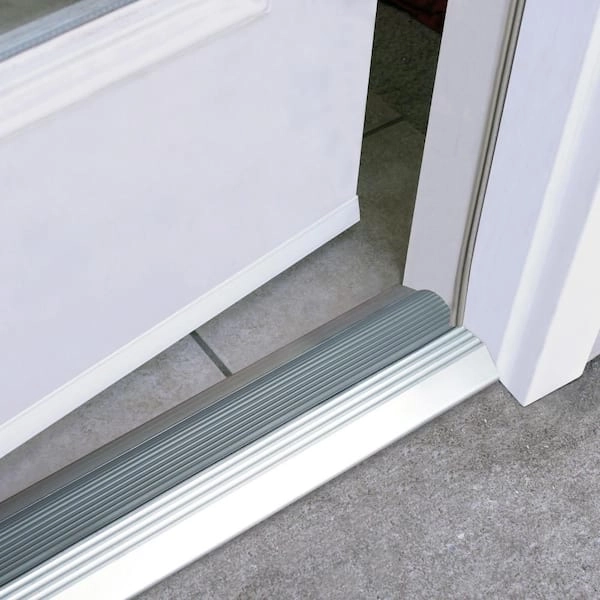
Step 4: Seal the Threshold Area
To prevent water and air infiltration:
Clean the threshold thoroughly
Apply exterior-grade caulk to cracks
Install a threshold seal if needed
Ensure the door sweep seals evenly
This step is especially important when sealing front door gaps in rainy or cold climates.
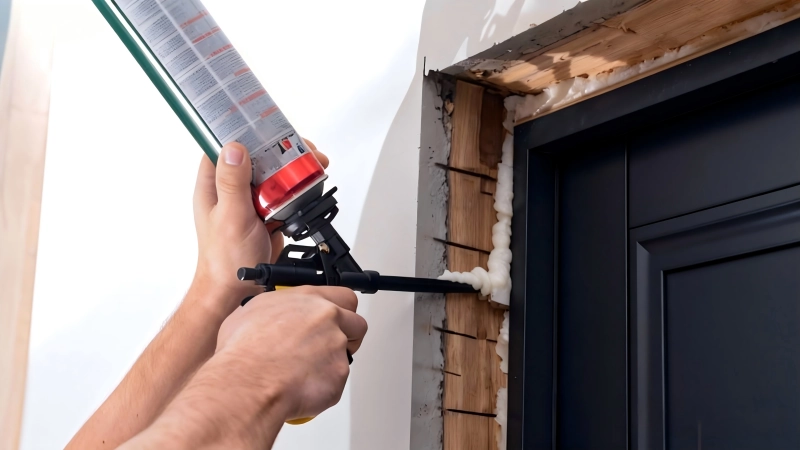
Step 5: Caulk Exterior Door Frame Gaps
Exterior caulking prevents moisture and drafts from entering behind the trim.
Remove old, cracked caulk
Apply a continuous bead around the frame
Smooth and allow to cure
Use only exterior-rated caulk for long-term weather resistance.
Step 6: Check Door Alignment and Hardware
Even the best seals won’t work if the door is misaligned.
Tighten hinges
Adjust the strike plate
Ensure uniform pressure on weatherstripping
Proper alignment improves the effectiveness of all door sealing components.
When weatherproofing an entry door, the quality of the door system itself plays an important role.
At Rutao, we design aluminum entry doors with tight frame tolerances, multi-layer sealing structures, and optional thermal break profiles. This makes sealing front door gaps more effective and long-lasting, especially in projects exposed to strong wind, rain, or temperature changes.
Whether for residential homes or commercial buildings, Rutao entry doors are engineered to support reliable weatherproofing and consistent performance over time.

Climate-Specific Tips for Weatherproofing an Entry Door
Cold Climates
Use high-density weatherstripping
Focus on thermal insulation
Consider insulated entry doors
Rainy or Humid Areas
Prioritize waterproof seals
Inspect caulking frequently
Hot and Sunny Regions
Choose UV-resistant sealing materials
Allow space for expansion
Common Mistakes When Sealing Front Door Gaps
Using interior caulk outdoors
Ignoring bottom door gaps
Over-compressing weatherstripping
Skipping door alignment checks
Avoiding these mistakes ensures long-lasting results when you weatherproof an entry door.
How Often Should You Weatherproof an Entry Door?
Inspect seals annually
Replace weatherstripping every 2–5 years
Reapply caulk as needed
Check after extreme weather
Routine maintenance keeps your door properly sealed year-round.
When Weatherproofing Isn’t Enough
You may need a new entry door if:
Drafts persist despite sealing
The door is warped or damaged
Insulation performance is poor
Modern doors often include advanced sealing systems that outperform older models.
Conclusion: Weatherproofing an Entry Door Improves Comfort and Efficiency
Learning how to weatherproof an entry door and seal front door gaps is one of the simplest ways to improve energy efficiency, comfort, and protection from the elements. With proper materials and regular maintenance, your front door can perform reliably in any climate.
FAQs
FAQ 1: How do I know if my entry door needs weatherproofing?
Most homeowners notice drafts, visible light around the frame, or higher energy bills. If air or water enters around the door edges, sealing front door gaps is usually necessary.
FAQ 2: What is the best way to seal front door gaps?
Using a combination of weatherstripping, a door sweep, and exterior-grade caulk is the most effective approach. Each component targets a different gap area.
FAQ 3: Can weatherproofing fix all draft problems?
Weatherproofing solves most minor air leaks. However, if the door frame is warped or poorly insulated, upgrading to a better door system may be required.
FAQ 4: Are aluminum entry doors harder to weatherproof?
Not necessarily. Well-designed aluminum entry doors with thermal breaks and proper sealing structures can perform just as well as other materials, especially when installed correctly.
FAQ 5: How often should I check door seals?
It’s recommended to inspect seals once a year and after extreme weather conditions.